Have you ever needed to record your Mac screen but didn’t quite know where to begin? It’s actually much easier than you might think—once you’re familiar with the right tools. Whether you’re a content creator producing polished video clips for YouTube, an online educator delivering interactive lessons, a remote professional conducting virtual demos, or a gamer sharing in-depth walkthroughs, getting to know how to record screen on your Mac computer is a core digital skill worth mastering.
In this guide, we’ll walk you through three of the most straightforward and effective methods to record your screen on a Mac. We’ll explore a lightweight Chrome extension for quick captures, a native macOS utility that’s already built into your system, and a robust third-party app that offers pro-level features—completely free of charge. No steep learning curve, no hidden costs—just practical, high-quality screen recording solutions you can start using today with zero hassle.
Method 1. Using a Chrome Extension for Screen Recording – Especially for Browser-based Tasks
When you need to record activities within your browser—like tutorials, website walkthroughs, or form-filling demos—the Screen Recorder extension for Chrome is a lightweight, hassle-free solution that doesn’t require any software installation. It’s an ideal option for beginners who want something quick and easy.
Here’s how to get started:
Step 1. Open your Chrome browser and head to the Chrome Web Store. Search for Screen Recorder.
Step 2. Click Add to Chrome to install the extension. Once added, you’ll see a small camera icon appear in the top-right corner of your browser. Click it to open the control panel.
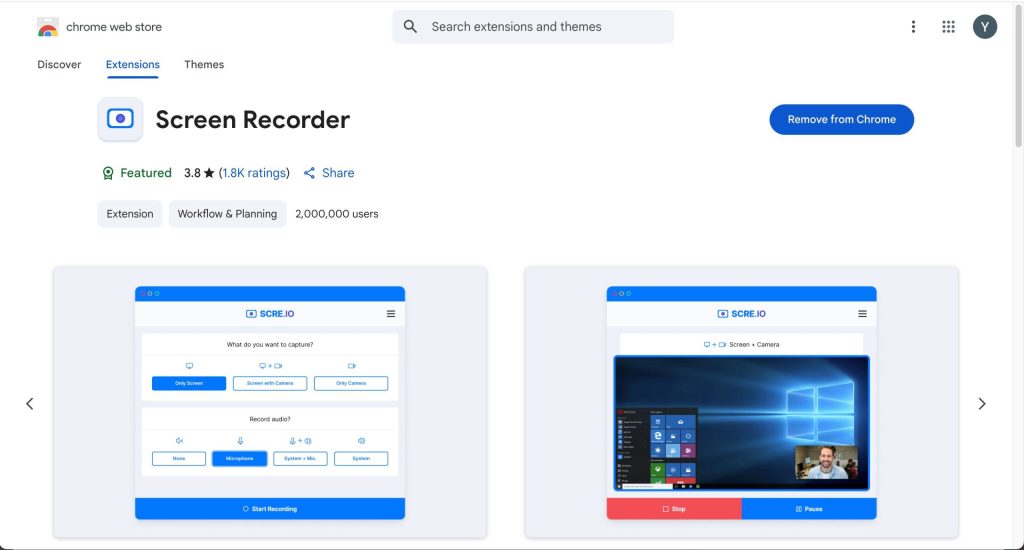
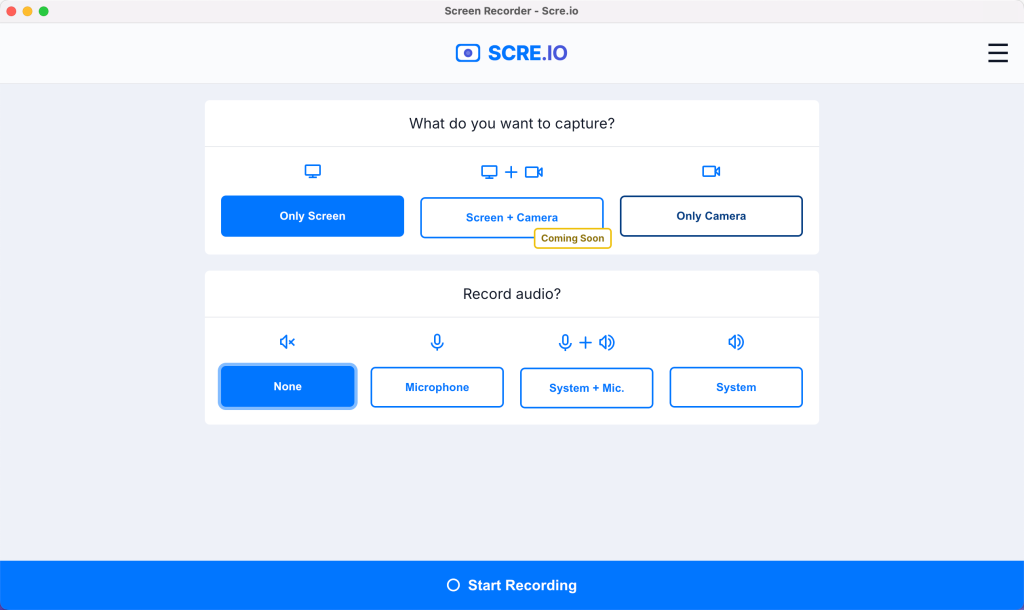
Step 3. Choose what you want to record—your entire screen, a specific window, or just a Chrome tab. Then, click Start Recording to begin.
When you’re done, simply click Stop Sharing to end the screen recording on your Mac. Your recording will be automatically processed and ready for download.

Advantages:
-
Simple Installation & User-Friendly Interface
The tool is easy to install and designed for quick adoption, even by first-time users. -
Flexible Recording Options
Users can choose to record the entire screen or a specific browser tab, depending on their needs. -
No Additional Software Required
As it runs directly in the browser, it eliminates the need for external applications—saving system resources and improving efficiency.
Method 2: Use Mac’s Built-in Screen Recording Feature (Ideal for Full or Partial Screen Capture)
The Mac’s built-in screen recording feature is very suitable for a beginner as well. With no need for additional features, it provides a smooth, resource-efficient way to record your screen—perfect for a wide range of everyday and professional scenarios. Following the step-by-step guide, record what you want seamlessly.
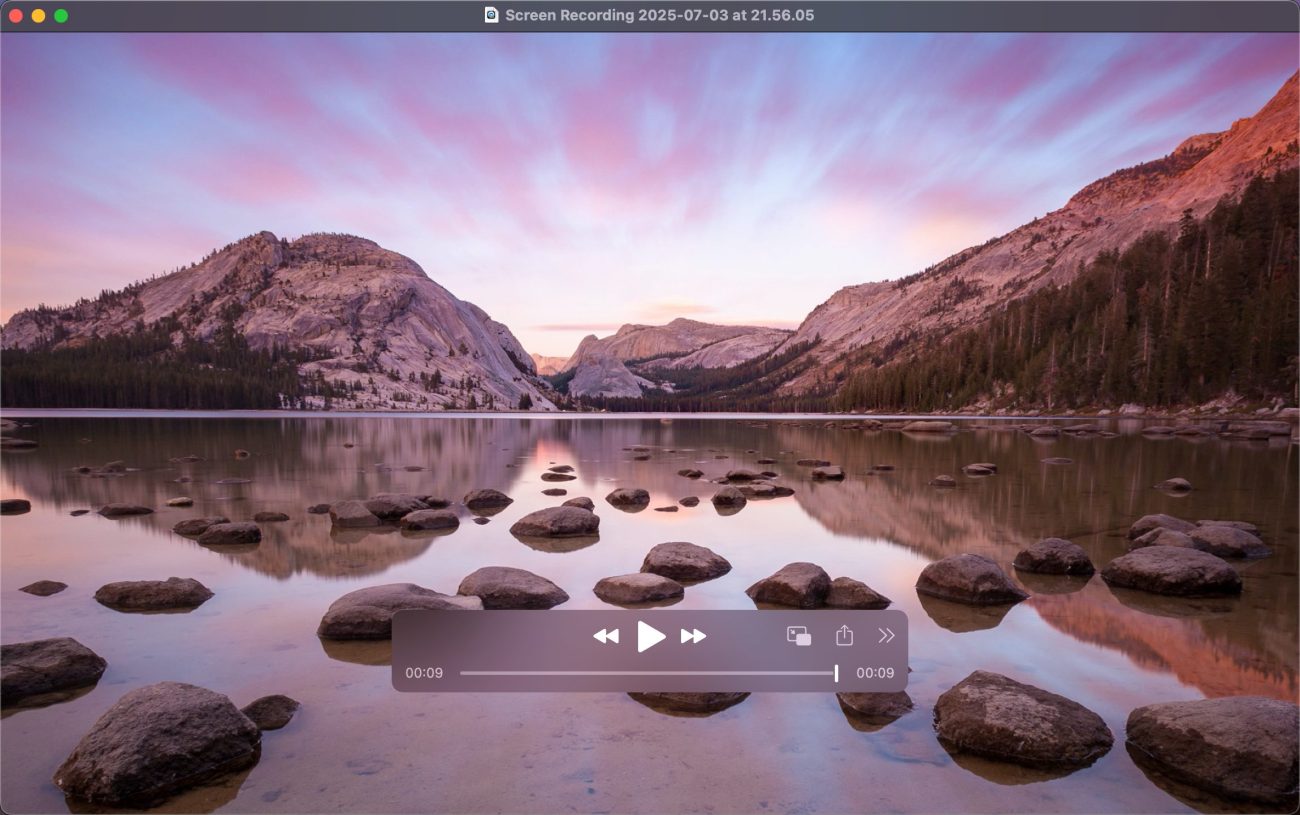
Step 1. Press Command (⌘) + Shift + 5 on your keyboard.
Step 2. The screen recording control bar will appear at the bottom of your screen.

Step 3. Select one of the following recording modes: Record Entire Screen, Record Selected Window, or Record Selected Portion.
Step 4. Click Options to configure and click the Record button to begin.

To stop recording, click the stop icon in the top menu bar. Your video will automatically save in .mov format to the desktop (or the location you selected) and can be edited using QuickTime, iMovie, Final Cut Pro, or other editing tools.
Advantages:
-
No need to install additional tools – Ideal for users who want to keep their Mac clean and lightweight.
-
Minimalist, intuitive interface – Even first-time users can navigate and record with confidence.
-
Flexible recording modes – Whether you’re recording a keynote presentation, a design tutorial, or a quick bug report, the built-in tool adapts well.
-
Microphone support – Record your voice along with the screen, which is particularly useful for:
-
Creating online courses
-
Recording Zoom/Google Meet tutorials
-
Giving product demonstrations
-
Making training videos for the team onboarding
-
Recording customer walkthroughs for SaaS tools
-
Sharing troubleshooting steps with IT teams or customer support
-
Method 3. Use a Professional Screen Recording Tool — OBS Studio (Best for Advanced Users)
If you’re looking for advanced screen recording capabilities such as multi-screen capture, live streaming, or custom layout design, then OBS Studio is your go-to solution. This powerful, open-source software is completely free and widely trusted by creators, gamers, educators, and streamers alike.
Step 1. Download OBS Studio for macOS from the official website: https://obsproject.com/ and install it.
Step 2. Open OBS and click the + button in the Sources box. Choose Display Capture and select the screen you want to record.
Step 3. (Optional) Add other sources like a webcam or microphone if you want to include a facecam or voice narration.
Step 4 Click Start Recording to begin. Click Stop Recording when you’re done. Your video will be saved automatically to your selected output folder.
Why It’s Great:
-
Highly customizable: Perfect for users who want full control over what’s recorded.
-
Professional features: Scene switching, live audio mixing, and more.
-
Supports live streaming: Stream directly to platforms like YouTube, Twitch, or Facebook Live.
-
Ideal for:
-
High-quality tutorial videos
-
Webinars and product demos
-
Gameplay capture
-
Multi-camera setups
-
Final Thoughts
I’ve personally tested many screen recording tools, and these three methods stand out as the most practical and highly recommended.
-
If you need to quickly capture web activity or video calls, a Chrome extension is the simplest and fastest option.
-
For basic recordings like tutorials, quick demos, or walkthroughs, the built-in Mac screen recorder gets the job done—no downloads, no fuss.
-
And if you’re a content creator, educator, or streamer looking for professional-grade features and full control, OBS Studio is hands down the best choice.
No matter your recording needs, there’s a solution here that strikes the right balance between ease of use, performance, and flexibility. Try them out and see which one fits your workflow best—then dive in and start creating with confidence!